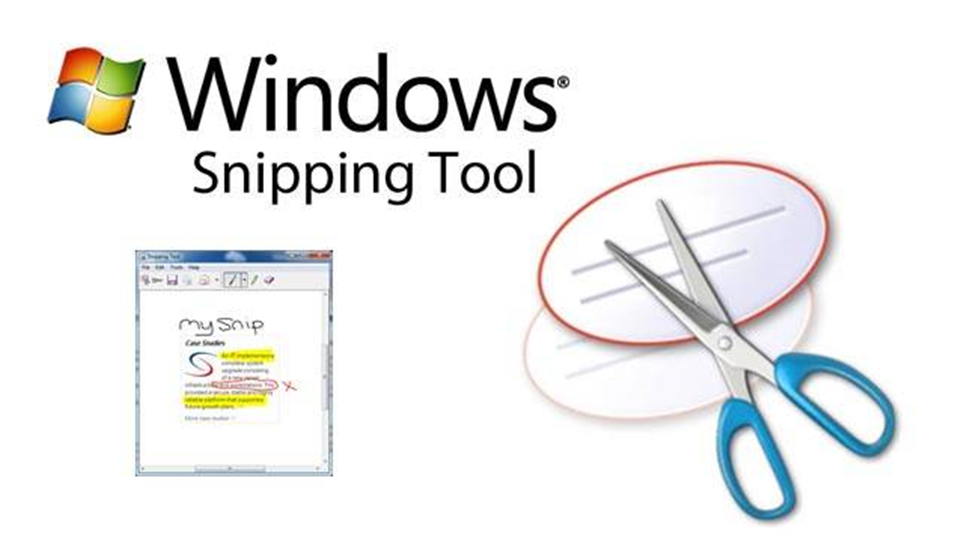
The Windows Snipping Tool is a screen capture and screen recording program. The Snipping Tool is an excellent free option for basic screen captures and recording, there are many other screen capture utilities available if you need a more robust program but for everyday use the Snipping Tool is a good choice, and it comes with Windows.
How to Access the Windows Snipping Tool
To open the Snipping Tool, type “Snipping Tool” in the Windows search bar, or find it in the programs list. Once open you can pin it to the taskbar for easy access.
When capturing a screen shot you can choose from several different snipping modes.
Rectangular Snip
The Rectangular Snip mode lets you draw a precise rectangle around what you want to capture. Drag the cursor around an object to capture the image.
Window Snip
Windows Snip lets you select a window, such as a dialog box, that you want to capture.
Full-screen Snip
The Full-screen Snip mode captures the entire screen. Just click and snip.
Free-form Snip
The Free-form Snip mode lets you draw any shape you want around the part of the screen you want to capture.
Editing the Snip
Once an image has been captured you can edit the image. Basic editing features allow you to crop, highlight, and add colorful borders. Annotation tools include arrows, text boxes, and freehand drawing.
Menu Bar Options
Ballpoint Pen
Highlighter
Eraser
Shapes
Image Crop
Text Actions
Undo & Redo
Edit in Paint
Save
Copy
Using the ellipsis menu you can
Zoom
Show Ruler
Visual Search
Share
Open File
Open Screenshot Folder
Open the Settings menu
Saving and Sharing Snips
To save a snip click the save icon on the toolbar, you can choose from several different file formats including PNG, JPEG, and GIF. Choose the format you want and click the save button.
Sharing Snips
Sharing options include email, send to your phone and copy to clipboard.
Screen Recording
The Snipping Tool also allows you to record the screen.
From the toolbar select the camera icon to switch to screen recording mode.
Click the new button, the screen will dim slightly, allowing you to select the area you want to record. If you want to record just an area of the screen, use your mouse to draw a rectangle around the area you want to capture. This is useful if you want to focus on a specific window or section of your desktop.
If you would like to record the entire screen, drag the rectangle across the full screen area.
You can use the delay drop-down to specify the amount of time you want before the recording begins.
After the recoding has started everything you do will be recorded until you press the Stop recoding button on the toolbar. A preview of the video will open.
To save the recording click the Save button on the toolbar. By default, screen recordings will be saved in the C:\Users\Username\Videos\Screen Recordings folder, but you can choose any location you like, you can also choose to share the recording. Recordings will be saved as an MP4 file.
